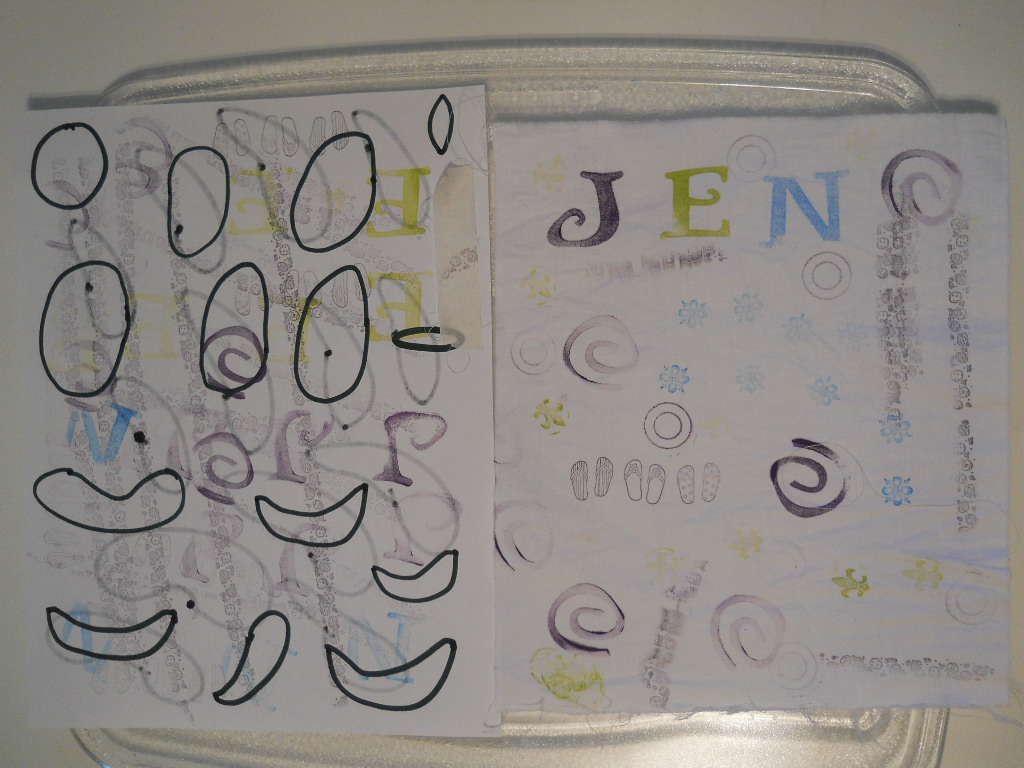
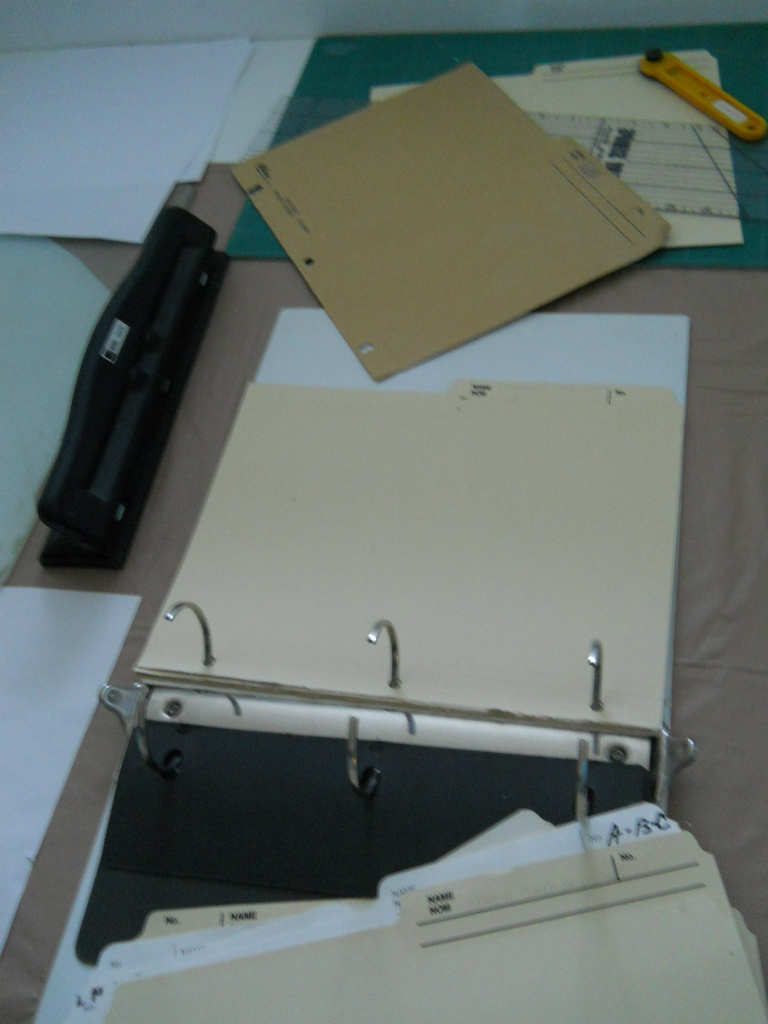
I've been told that gesso is a good primer and stops buckling. I'm doing most of these backgrounds for my calendar journal which comprises manila folders so that's what I'll be illustrating.

I use acrylic craft paint and this is the second layer. Too thick I think!

I tried to drop alcohol on and I'm wasn't impressed. I tried the alcohol ink and it was a bit better. I spritzed with water and that was more exciting. I think I need to study inks or something!

Now I'm already learning that spreading acrylic with a plastic card works pretty good but if I want texture a dry brush on a few drops works slick!

Then I shook some watered down acrylic unto the pages.

I did this several times and the last time I also added some dots to the lower left page with the end of the brush. I'm kinda into dots! These were a little thicker and as each new layer should dry I decided to go ahead and try some bubble wrap on the right page.

That turned out pretty cool!

Then I brushed acrylic onto a stamp I'd made with a foam circle glued to cardboard.

I want to point out that the left hand background was started on another day. My calendar pages are two page spreads and they should somewhat relate. So I am using common colours and shapes to tie them together. I'm not really wanting matchy matchy, though.

Ink: I was up for trying ink again!
I removed the wrapping from my pen and nib and dipped into orange ink and wrote a day of the week. So far so good. I decided to outline some circles. This could have been edgy but... I was raised in the school era where you had to master the straight pen before you could load up with the fountain pen and it was a few years before they allowed ballpoint. It is like riding a bicycle. You never forget! lol I may have to find a caligraphy book.

A few stamps.

The yellow is going to be too subtle but Burnt Copper stands out.

Back to acrylic. Who knew that toilet paper rolls were so cool!


My next try was to stamp first. I also collaged some bits of torn paper which I adhered with gel medium.

Then I added first one colour of acrylic and then the other. These are dry brushed.

Then I stenciled on some glimmer mist onto the left page.That is the positive image. I flipped the stencil onto the right page and pressed the stencil down so the negative image would be on the right. No waste! This page is not finished but I am learning that they don't all need to be done in a slam bam manner! lol Let's just say I'm thinking! ;^)
Now that turned out so well that my first journal page is not looking so cute anymore. I should have done more thinking!!! I first viewed the adding of many layers to cover up previous layers as a bit wasteful! But not everything goes as planned and that is why there are paper towels or baby wipes available to remove, soften or blend. This time I won't even batt an eye!